Journal
How to Make Bookmarks and Place Cards with Cricut Print Then Cut
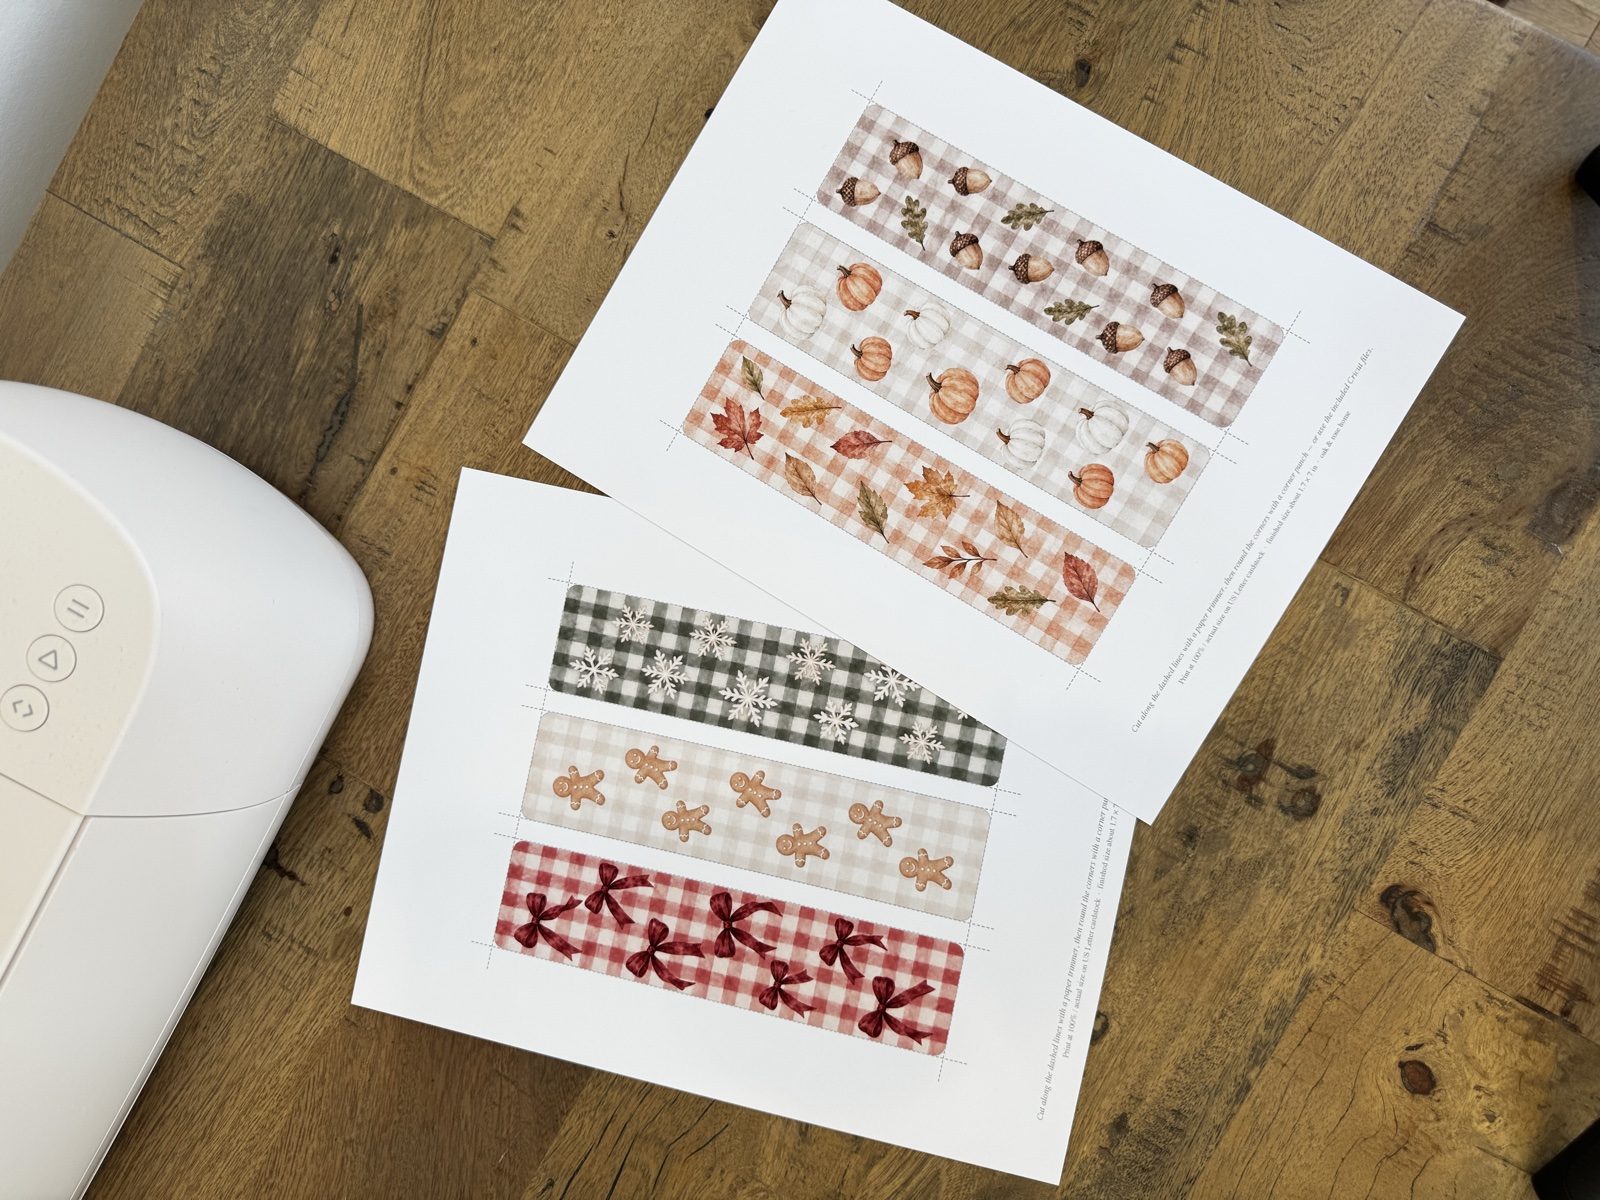
There is a particular pleasure in an evening at the craft table. The house is quiet, the tea is warm, and a stack of cream cardstock is waiting beside the printer. An hour later there is a small pile of finished things — bookmarks for a book club, place cards for Thursday’s dinner — that you made yourself, for people you love. That is what printable paper goods are for. Not a shortcut, but a small, satisfying project with something beautiful at the end of it.
Every Oak & Rose Home bookmark and place card set now includes Cricut Print Then Cut files alongside the print-at-home PDF. This guide walks through how to use them — and, just as warmly, how to finish the same pieces by hand if you do not own a Cricut. The sets it covers are The Cottage Bookmarks, The Christmas Bookmarks, The Autumn Placecards, and The Red Pinstripe Placecards.
What You’ll Need
For Cricut Print Then Cut:
- A Cricut machine
- Cricut Design Space (desktop or mobile app)
- A home inkjet printer
- White or cream matte cardstock, 65 to 80 lb, or matte photo paper
- A LightGrip or StandardGrip mat
- Optional for place cards: a scoring stylus or scoring wheel
For cutting by hand:
- Heavy matte cardstock, 65 to 100 lb (176 to 270 gsm), or matte photo paper
- A paper trimmer (or sharp scissors)
- A corner-rounder punch, if you like softer corners
- A bone folder and a ruler, for place cards
What’s in the Cricut Folder
Each set’s download includes a folder called Cricut Print Then Cut Files and a one-page Cricut Print Then Cut Guide. The folder holds one transparent PNG for each design — three for each bookmark set, two for The Autumn Placecards, one for The Red Pinstripe Placecards. The background is already transparent and the rounded corners are already shaped, so Design Space knows exactly where to cut.
Print Then Cut, Step by Step
The process is the same for every set. Only the size changes.
- Open Cricut Design Space, start a New Project, and click Upload.
- Choose Upload Image and select the first PNG from the Cricut folder.
- When Design Space shows the image type, choose Complex, click Continue, then Apply & Continue. There is no background to remove — it is already transparent.
- On the next screen choose Print Then Cut image, then Upload. Repeat for each design in the set.
- Add the designs to your canvas. Select each one and set its size (see below), with the size lock closed so nothing stretches.
- Click Make It. Design Space arranges the pieces on the page and adds the black registration marks it uses to line up the cut.
- Click Send to Printer. Keep Add Bleed turned on and choose your printer’s best quality setting. Print on matte cardstock or matte photo paper.
- Place the printed sheet on your mat, lined up with the top-left corner, and load it into the Cricut.
- Choose your material setting — for example, Medium Cardstock — and press Go. The Cricut scans the registration marks and cuts each piece out.
Bookmarks
For The Cottage Bookmarks and The Christmas Bookmarks, set each of the three designs to 1.68 inches wide by 7 inches tall. That is the slim, classic bookmark size that slips into a novel, a journal, or a cookbook without fuss.
Once they are cut, the finishing is the best part. Punch a small hole at the top center of each bookmark and thread through a length of silk ribbon — cream or dusty rose for the autumn set, deep berry for Christmas — and tie a small knot. A little silk tassel gives a slightly more Victorian finish. Or leave them plain; many of the loveliest old bookmarks never had a ribbon at all.
Bookmarks make some of the easiest small gifts to make in quantity. One evening’s printing and cutting can turn out a set for everyone in your book club, a stack of stocking stuffers, or a thank-you for a favorite teacher.
Tent Place Cards
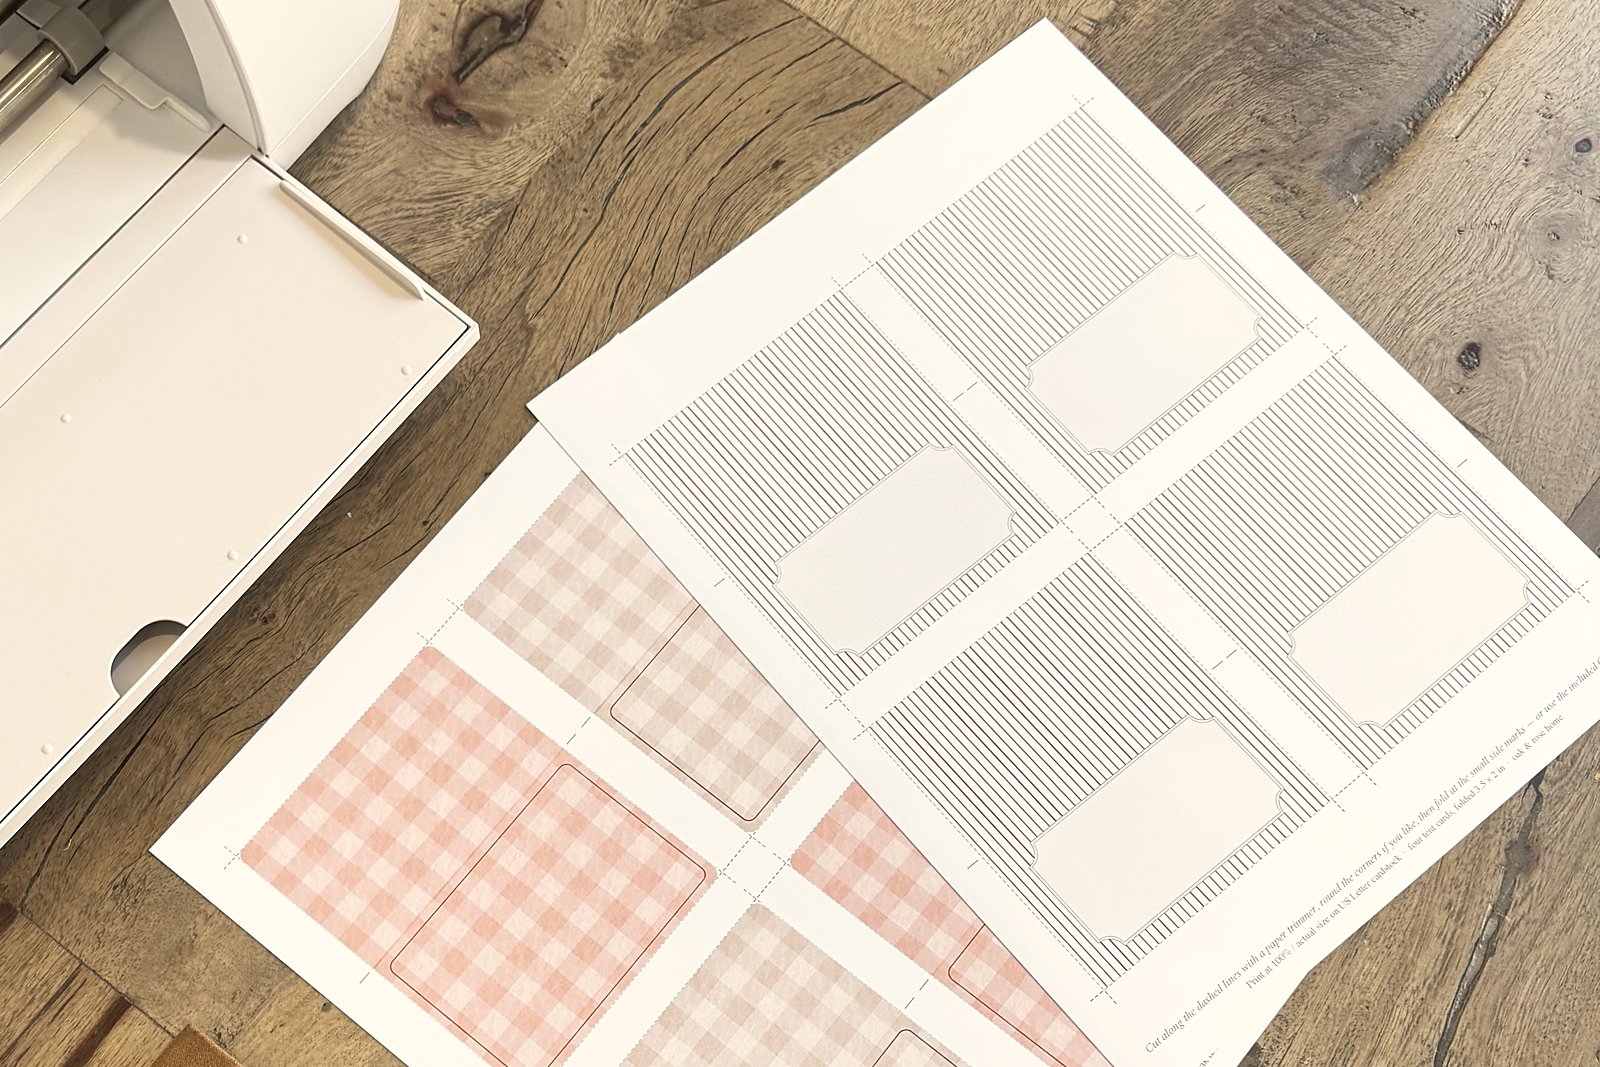
For The Autumn Placecards, set each colorway to 3.39 by 4.45 inches. For The Red Pinstripe Placecards, set the card to 3.5 by 4 inches. Then use Duplicate to make one card for every guest at your table.
If you have a scoring stylus or scoring wheel, you can have the Cricut score the fold for you. Click Shapes, choose Score Line, rotate it to horizontal, and set its length to the card’s width. Place it at the fold — 2.08 inches down from the top for The Autumn Placecards, 2 inches (exactly halfway) for The Red Pinstripe Placecards. Select the card and the score line together and click Attach, then repeat for each card. The machine scores before it cuts, and the fold comes out crisp.
Write the names before you fold. A fine-tip pen in deep brown, red, or black ink looks lovely inside the framed panel, and a flat card is far easier to write on than a standing one. Give the ink a few minutes, fold along the score, and stand each card at the top of a plate.
Tips for a Clean Cut
- Use matte paper. Glossy or very textured cardstock can stop the Cricut from reading its registration marks.
- Try matte photo paper. It gives especially rich, crisp watercolor color. Choose matte, not glossy — glossy photo paper can stop the Cricut from reading its marks.
- Work in good light. Keep shadows off the mat while the machine scans.
- Calibrate once. If the cut lands a little off the edge, run Print Then Cut calibration from the Design Space menu, then try again.
- Print a test sheet. Before a full batch, print and cut one sheet on your chosen cardstock to check color and fit.
Prefer to Cut by Hand?
You do not need a Cricut for any of these sets. Every download includes a print-at-home PDF on a US Letter page, with light dashed cut lines that run right along each edge and extend into the margins. Line a paper trimmer up with each dashed line and trim — the edges come out clean and straight. The pieces trim with square corners; a corner-rounder punch softens them in a second.
Print at 100% or “actual size,” on heavy matte cardstock, at your printer’s best quality. For place cards, score the fold by hand with a bone folder against a ruler. There is something lovely about this slower way, too — the rhythm of the trimmer, the small stack growing beside you.
A Closing Thought
Whether it is a Cricut humming on the craft table or a paper trimmer and a cup of tea, the making is part of the gift. A bookmark you cut yourself, a place card with a name in your own hand — these are small things, and they are exactly the small things people keep.
— Oak & Rose Home
Common questions
What is Cricut Print Then Cut?
Print Then Cut is a Cricut Design Space feature that sends a design to your home printer with black registration marks around it, then lets your Cricut scan those marks and cut precisely around each printed piece. It is ideal for printable paper goods like bookmarks, place cards, and tags.
What cardstock works best for Print Then Cut?
White or cream matte cardstock in the 65 to 80 lb range works well, and matte photo paper gives especially rich, crisp watercolor color. Glossy photo paper or very textured cardstock can stop the Cricut from reading its registration marks.
Why is my Print Then Cut cut slightly off the edge?
Most often it is light or calibration. Cut in good light with no shadow falling across the mat while the machine scans, and if the cut still lands a little off, run Print Then Cut calibration once from the Design Space menu and try again.
Do I need a Cricut to make these printables?
No. Every Oak & Rose Home bookmark and place card set includes a print-at-home PDF with dashed cut lines along every edge, so a paper trimmer and a corner-rounder punch give a beautiful finish by hand. The Cricut files are simply a second, welcome option.
Can a Cricut score the fold on a tent place card?
Yes, if you have a scoring stylus or scoring wheel. Add a Score Line across each card at the fold, attach it to the card, and the machine scores before it cuts. Without one, score by hand with a bone folder against a ruler.